Overview
VISA (Virtual Instrument Software Architecture) is a standardized API for communicating with test & measurement instruments — over GPIB, USB, Ethernet (VXI-11/HiSLIP), or serial — through the same set of function calls, regardless of the underlying interface or instrument vendor. Several companies ship their own VISA implementation (NI-VISA, Keysight VISA, R&S VISA, and the open-source pyvisa-py, among others); any of them can talk to GPIBEE, since it speaks the VXI-11 protocol. This tutorial uses R&S VISA as the example.
GPIBEE is tested in general with multiple VISA implementations, not just R&S VISA — any VXI-11-capable VISA works. This tutorial recommends R&S VISA specifically because it's small, stable, and actively maintained: it's a lean implementation available for Windows, Linux, and macOS. Compared to other VISA runtimes — which can also be used with GPIBEE — it takes up much less disk space (some other VISA installations run into multiple gigabytes, while R&S VISA is only a few megabytes) and doesn't install background services or pull in a lot of extra dependencies.
R&S VISA Tester is the free GUI tool bundled with R&S VISA — it lets you find, connect to, and manually send/receive commands from any VISA-compatible instrument without writing any code. Because GPIBEE speaks VXI-11, R&S VISA Tester can discover it automatically and talk to both GPIBEE's internal SCPI interface and any GPIB instrument connected to it. This walkthrough covers installing R&S VISA, finding and connecting to GPIBEE, exploring its internal SCPI interface, talking to a GPIB instrument, and configuring read termination for instruments that need it.
pyvisa-py, by contrast, has known bugs — some fixed in newer releases, some not — and it's not always obvious which version is installed on a given machine. In general, pyvisa-py does work fine for most use cases, but because of those bugs there are corner cases where it can misbehave — timeout handling and lock handling (e.g. VI_ATTR_EXCLUSIVE_LOCK) are two areas that have tripped people up. PyVISA itself works well with R&S VISA, as well as NI-VISA, Keysight VISA, and others.
Install R&S VISA on Windows
Go to rohde-schwarz.com/applications/rs-visa and download the installer.
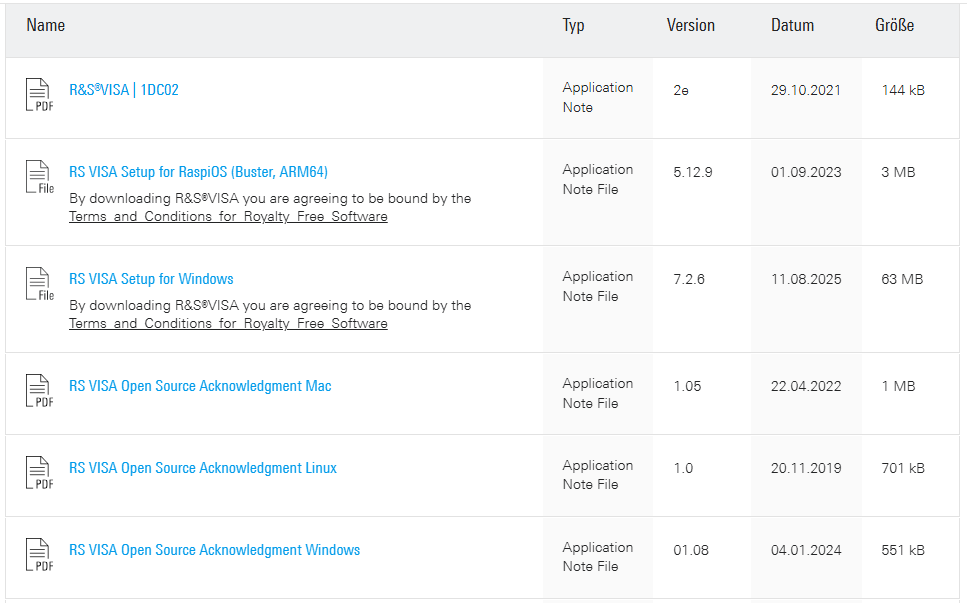
For Windows, download "RS Visa setup for Windows".
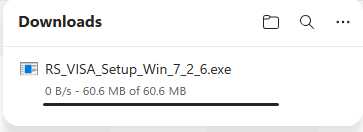
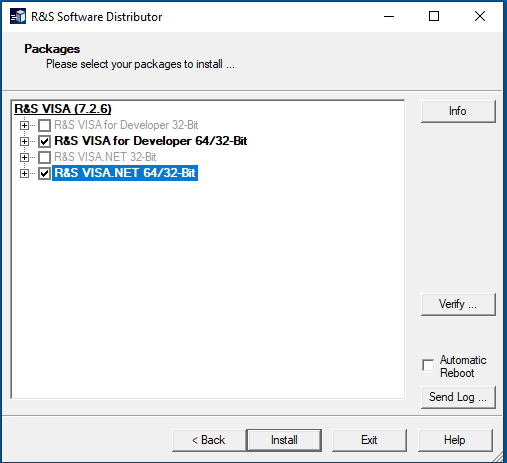
Install it. The default settings shown below are good enough for this tutorial.
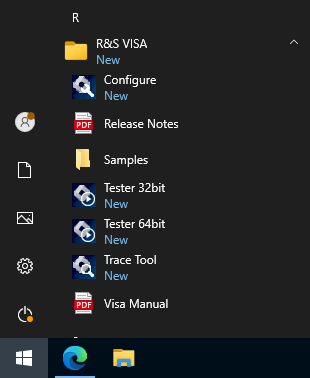
After installation, several R&S VISA tools are available in the Start menu — R&S VISA Tester is the one used throughout this tutorial.
Install R&S VISA on Linux
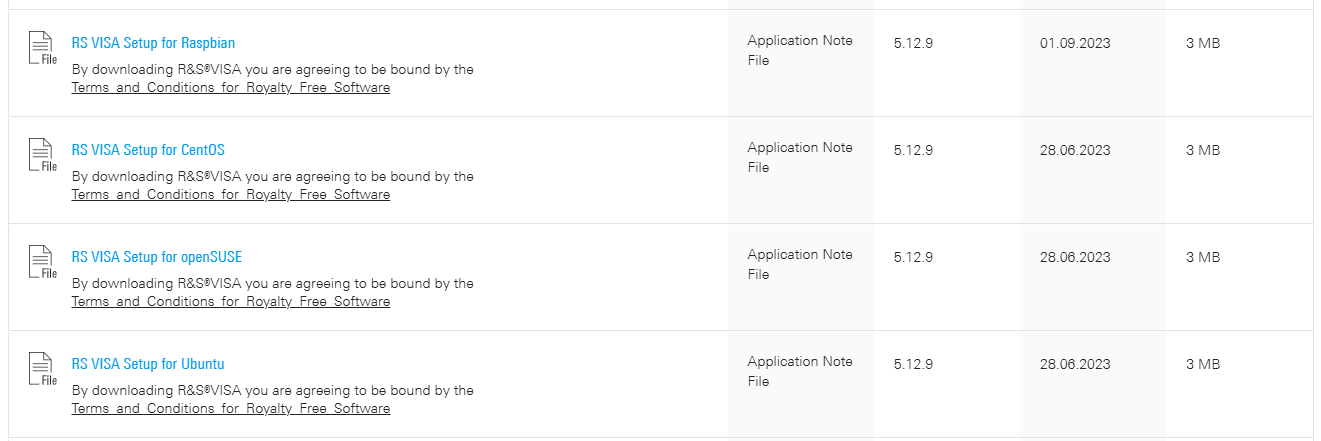
Go to rohde-schwarz.com/applications/rs-visa and download the package for your distribution. For this walkthrough, R&S VISA is installed on Ubuntu.
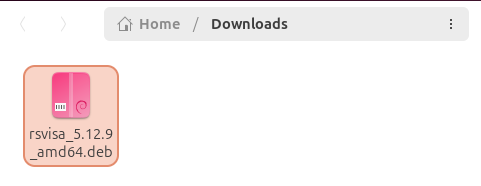
After downloading, install the package (a .deb on Ubuntu/Debian):
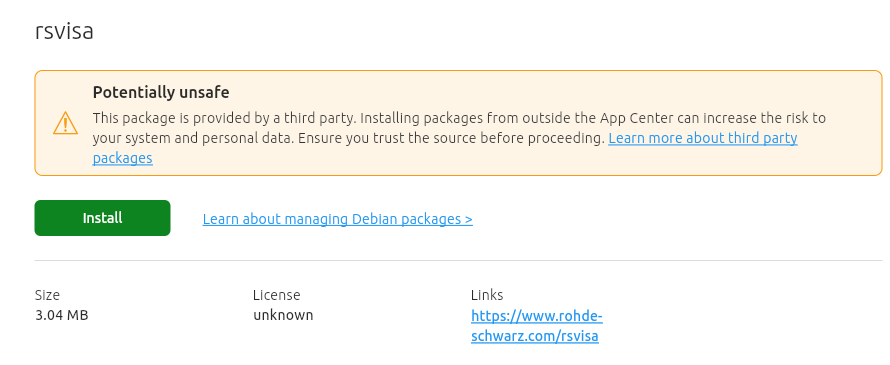
Your package manager may warn that this is a third-party package — confirm to proceed with the install:
After installation, a few new apps are available — R&S VISA Tester is the one used throughout this tutorial:
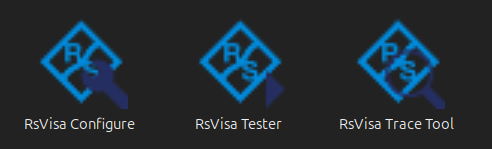
Add udev rules for USBTMC access
This step is only needed if you want to access USBTMC devices directly. If you use GPIBEE in the preferred VXI-11 mode, you can skip it.
To enable USBTMC device access, add a udev rule. Open the rules file:
sudo nano /etc/udev/rules.d/99-usbtmc.rules
Add this line to the file:
SUBSYSTEM=="usb", ATTR{idVendor}=="16d0", ATTR{idProduct}=="1466", MODE="0666"
The vendor ID and product ID above (as shown earlier in lsusb output) are fixed for GPIBEE and won't change. If you want to support other USB-connected measurement instruments, adjust those values accordingly.
After adding the line and saving (Ctrl+O, then exit), apply it:
sudo udevadm control --reload-rules
sudo udevadm trigger
...or simply reboot the machine. Either way, also disconnect and reconnect the USB cable once afterwards.
usbtmc0–usbtmc9 device without specifying a vendor/product ID:
KERNEL=="usbtmc[0..9]", SUBSYSTEM=="usbmisc", MODE="0666"
Using R&S VISA Tester: finding & connecting to GPIBEE
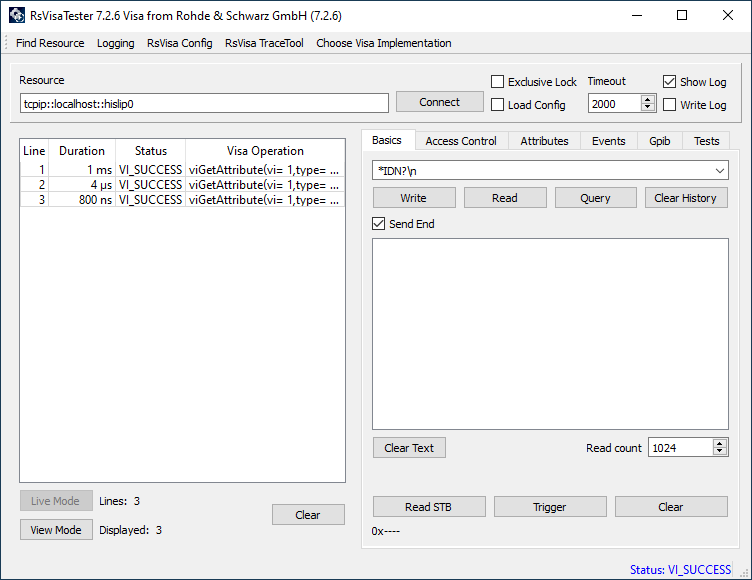
In case GPIBEE is in VXI-11 USB mode (default) or connected over Ethernet, check VXI-11. This enables VXI-11 discovery, so GPIBEE can be easily found.

Click the button on the top left (circled arrow). The first time you do this, the firewall might ask if it's allowed to access networks — click Allow Access.
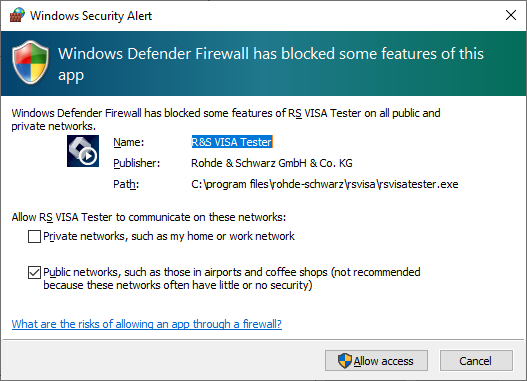
ufw, firewalld, or a custom nftables/iptables setup) can just as easily block the broadcast/multicast traffic VXI-11 discovery relies on. If "Find resource" doesn't turn up GPIBEE, check your firewall rules — e.g. sudo ufw status — and allow outgoing/incoming traffic on the relevant interface, or temporarily disable the firewall to confirm it's the cause.
If successful, GPIBEE will be found as below (here connected over USB). Click the yellow-highlighted resource name.
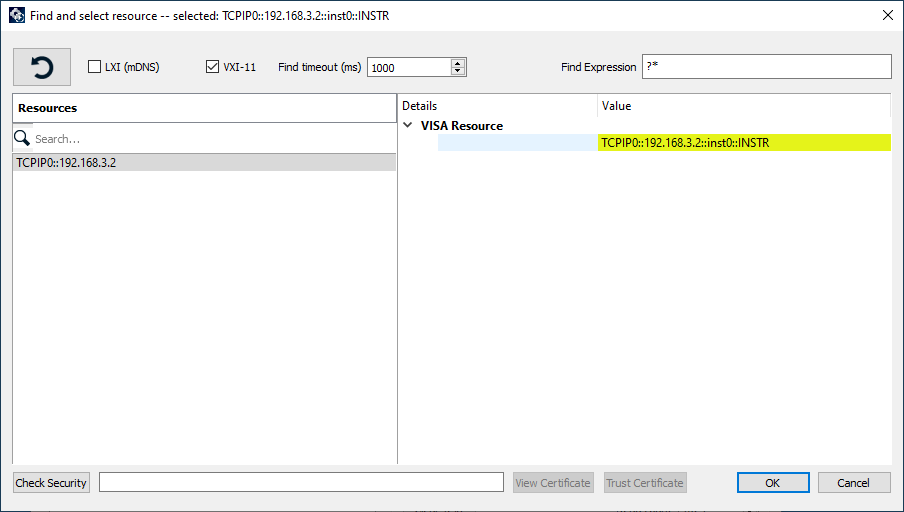
This resource is inst0, which is the internal SCPI device of GPIBEE. We'll step over to accessing GPIB devices connected to GPIBEE a bit further down. R&S VISA Tester takes over the found resource and puts it into the resource string field at the top left.
Accessing the internal SCPI interface
The resource selected in the previous step — inst0 — is GPIBEE's own internal SCPI interface, not a GPIB instrument. It's the quickest way to talk to GPIBEE itself: query its identification, scan the bus for connected GPIB devices, and more — all before you even touch a specific instrument.
The resource name from the previous step is already in the field. After entering it (or confirming it's there), click Connect on the button right next to it:
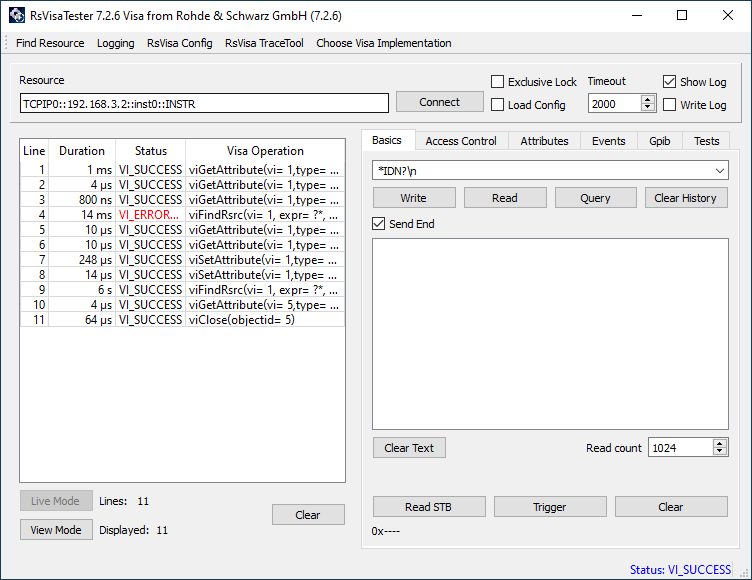
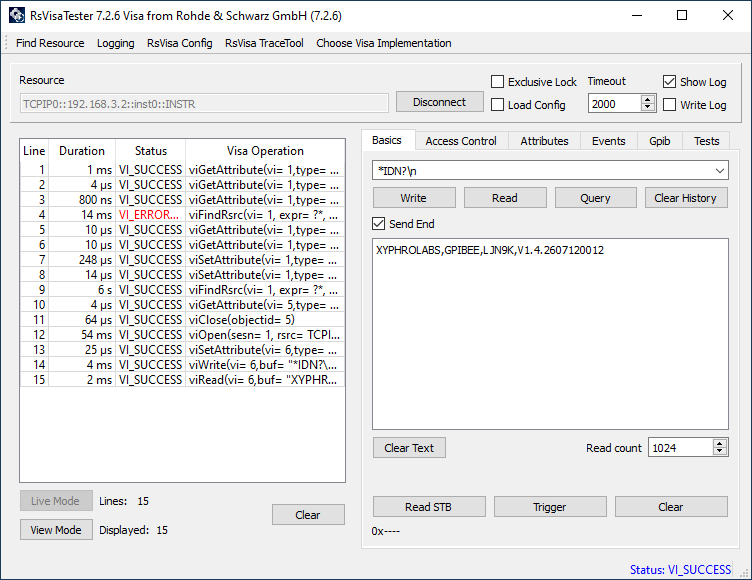
You can now send commands to or read from GPIBEE. R&S VISA Tester has *IDN? prefilled by default — click Query and it will show GPIBEE's internal SCPI identification response:
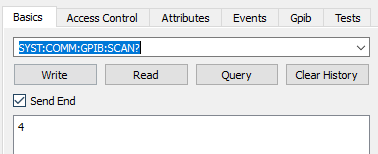
This internal SCPI interface also exposes a lot of options, including scanning for GPIB devices. One example is the SYSTem:COMMunicate:GPIB:SCAN? command. Here, a GPIB device present on primary address 4 is found during the scan:
For the next step, disconnect by clicking the disconnect button — we'll open a fresh connection directly to the GPIB device we just found.
Accessing a GPIB device using R&S VISA Tester
During the previous scan, we saw that a GPIB device on address 4 is present. Of course you don't need to scan first — if you already know a device's address, going through the internal SCPI interface isn't required.
To connect to the GPIB device on address 4, change the VISA resource name a bit:
The addition of ,4 selects GPIB address 4.
Now connect again by pressing Connect. If successful, the log shows that VI_SUCCESS is returned on the viOpen call:
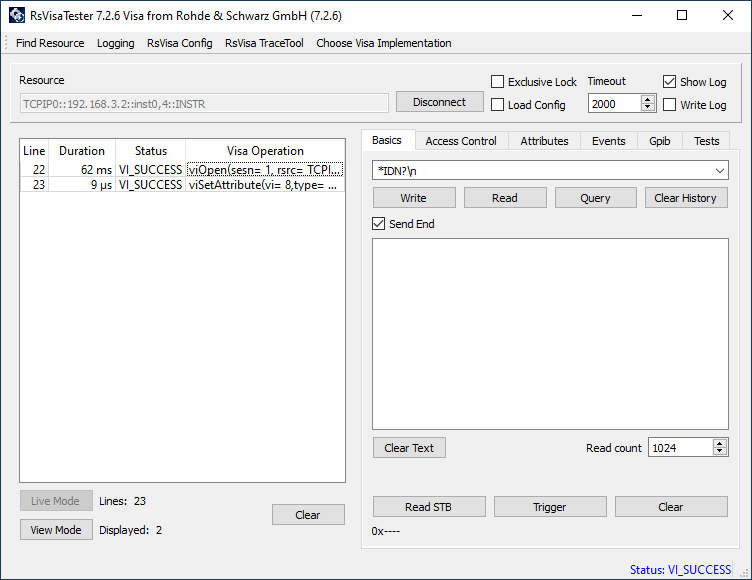
All commands sent, or reads/queries made, are now directed to the GPIB device on address 4.
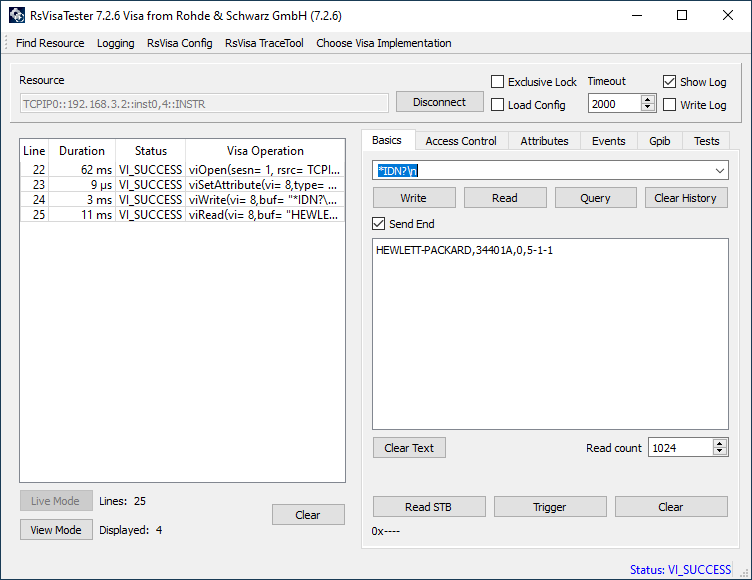
Sending *IDN? to the connected HP34401A in this example returns its identification string:
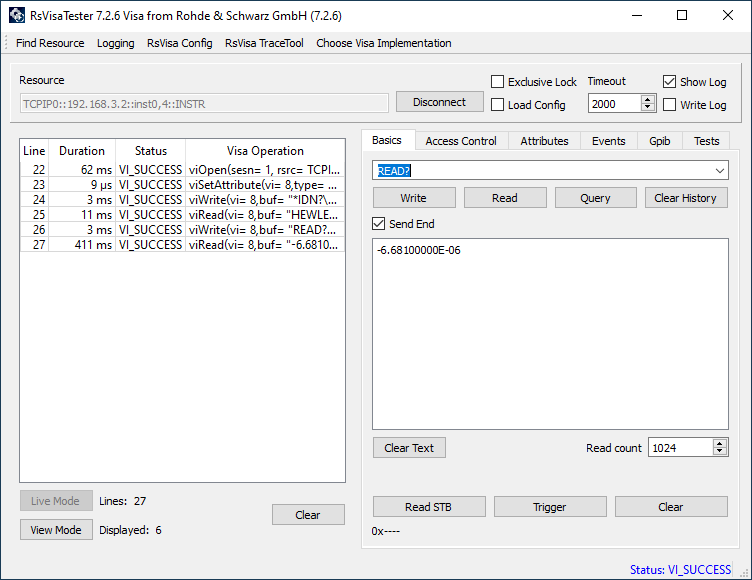
The HP34401A has a command called READ? which triggers a new reading and returns its value. Entering it and pressing Query shows the current reading:
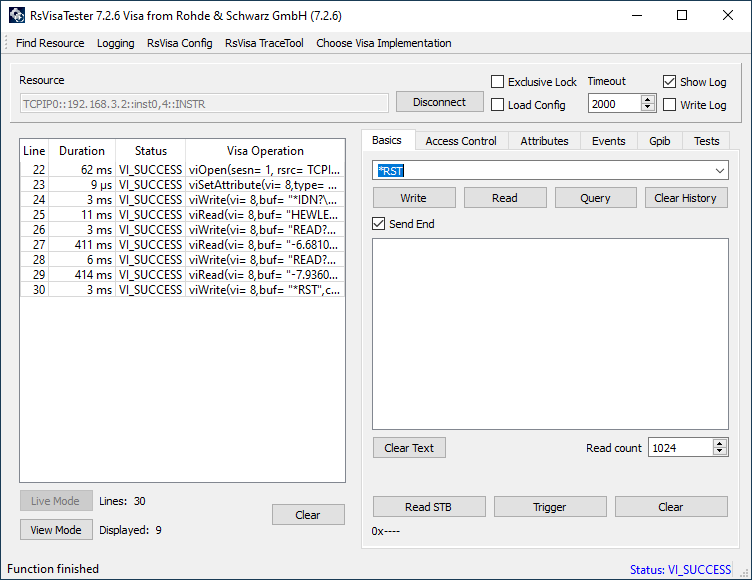
Commands that don't return any data can be sent by pressing the Write button. Here's an example using *RST, which resets the device to a defined state:
Some instruments require a special read termination, as they don't terminate reads using the EOI signal. This is the case for older GPIB equipment and a lot of HP devices — covered next.
Setting read termination in R&S VISA
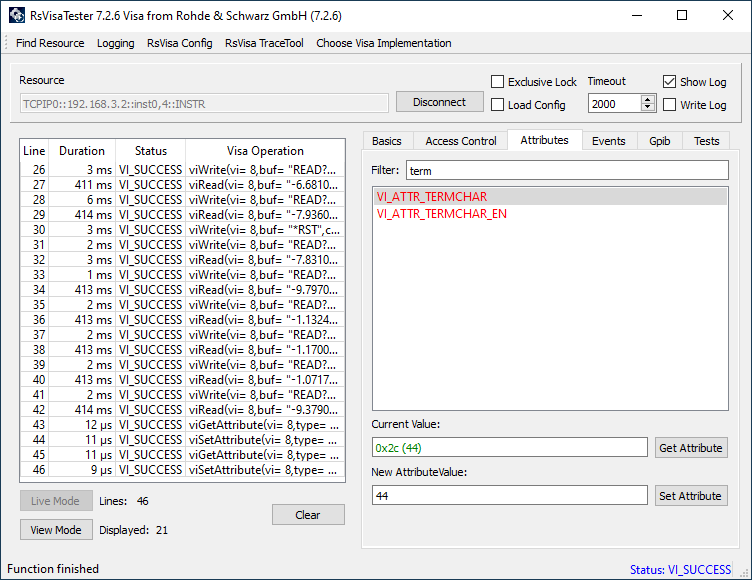
To set the read termination character, click on Attributes. This setting is volatile and only applies to the current active session.
Set VI_ATTR_TERMCHAR_EN to 1 to enable a read termination based on a termination character.
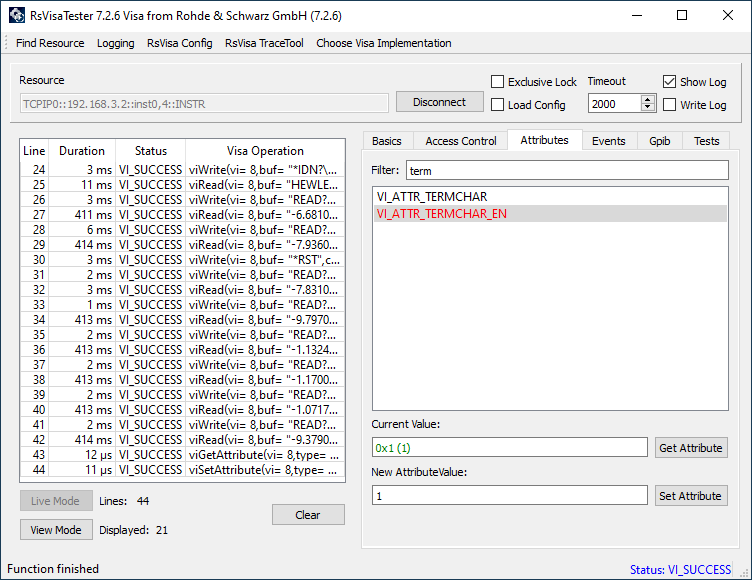
Set the termination character to the one you'd like to use. Normally this is carriage return or line feed — some instruments require ETX or other characters. For this example, it's set to 44, the decimal code for a comma character:
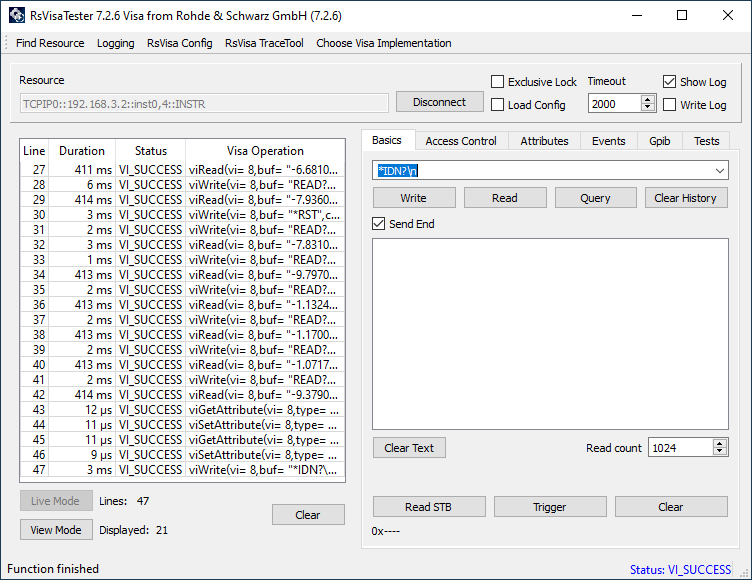
Now write *IDN? to the instrument:
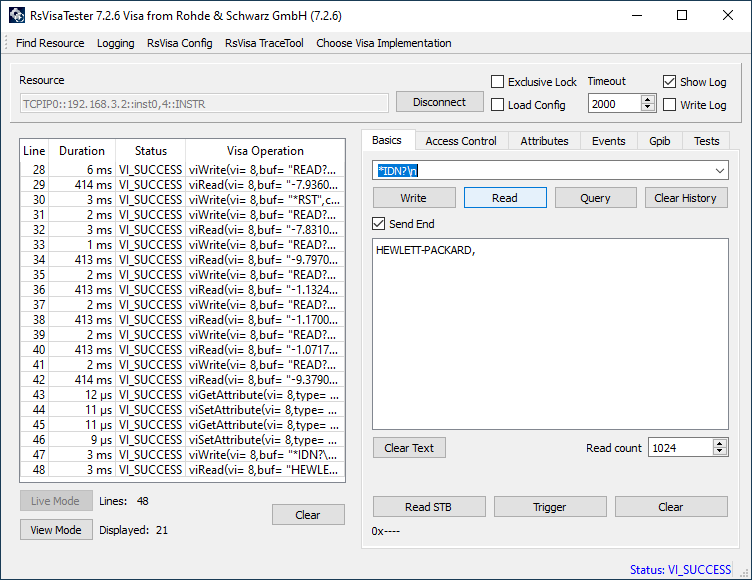
Pressing Read now returns only a partial string, with , as the last character as expected:
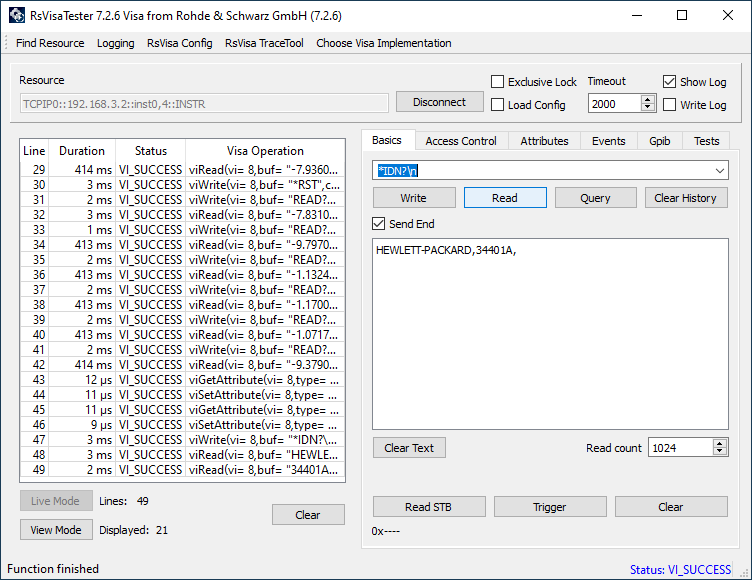
On the 2nd read, we see the next part:
The 3rd read returns the 3rd part:
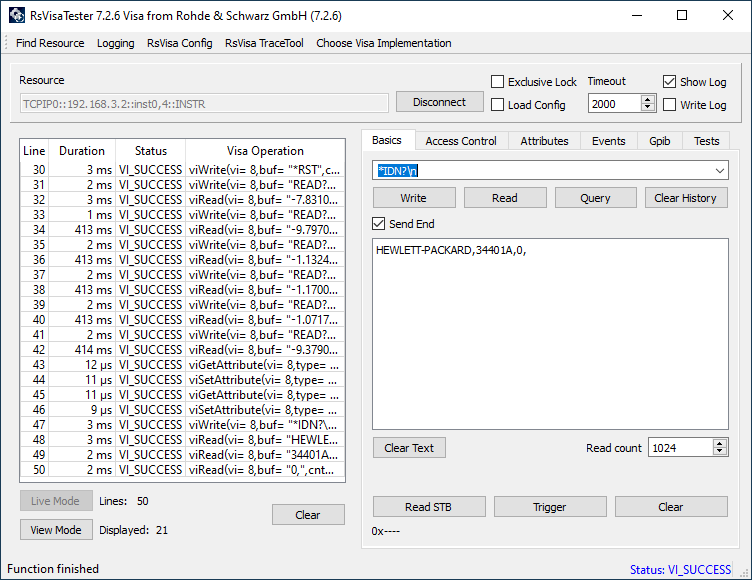
And the last read returns the final string content:
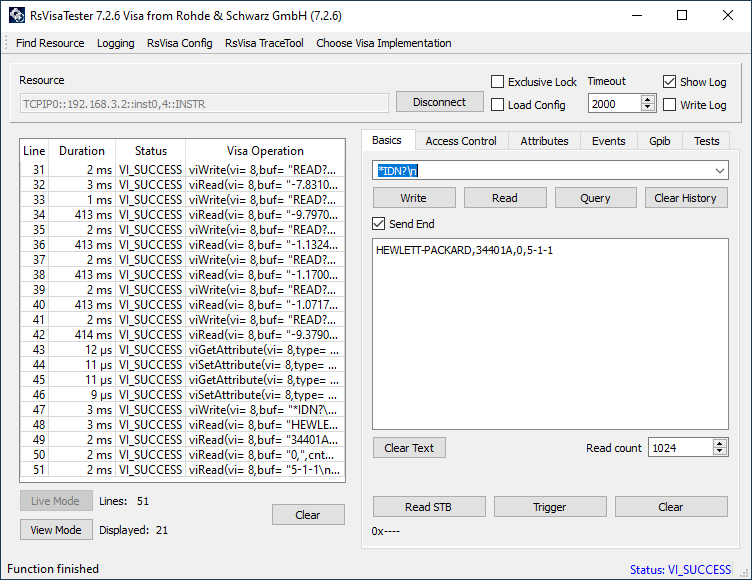
To disable the read termination, just change VI_ATTR_TERMCHAR_EN back to 0.
Other options
You can not only send and receive messages/data, but also read the status byte (e.g. information about pending service requests), trigger (e.g. to trigger a new conversion), or clear (clear the instrument buffer):
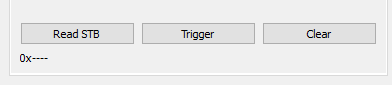
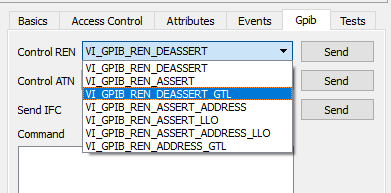
The GPIB tab exposes options to, for example, set the instrument back to local mode — so its front-panel buttons aren't locked out and you can use them again — the same effect as pressing the Local button on the instrument itself: